
1. Install the Lopus AI SDK
Installlopus-ai in your React project:
2. Set up shadcn/ui
Currently, the SDK requires you to setupshadcn/ui separately in order to render the generated components (we internally use these components for clean default styling). If you prefer installation guidelines given by the shadcn/ui website, head on to the Installation instructions.
If you’re using a framework like Next.js, Gatsby, Remix or Astro, you can use the shadcn/ui CLI to set this up. If you’re using plain React.js, head on to the Manual Installation Guide.
Install and initialize shadcn/ui in your React-based project:
3. Configure Tailwind CSS
Add the Lopus AI components to yourtailwind.config.ts content array:
tailwind.config.ts
Make sure to add the highlighted line to your Tailwind config to properly
style the Lopus AI components.
4. Initialize the useLopusChat Hook
Import and initialize the useLopusChat hook in your React component:
ChatComponent.tsx
Replace
your_api_key_here with your actual Lopus AI API key. You can find
your API key in the dashboard.useLopusChat hook provides:
-
messages: An array of chat messages -
sendQuery: A function to send new messages -
isLoading: A boolean indicating if a response is being generated
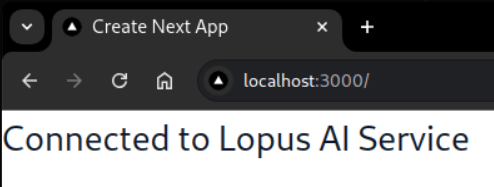
Authentication confirmation from Lopus AI
5. Design Chat Components
Create 3 necessary components for Messages, Message List, and Chat Input. Each component includes error handling, type checking, and styling.ChatComponent.tsx to use the components:
ChatComponent.tsx
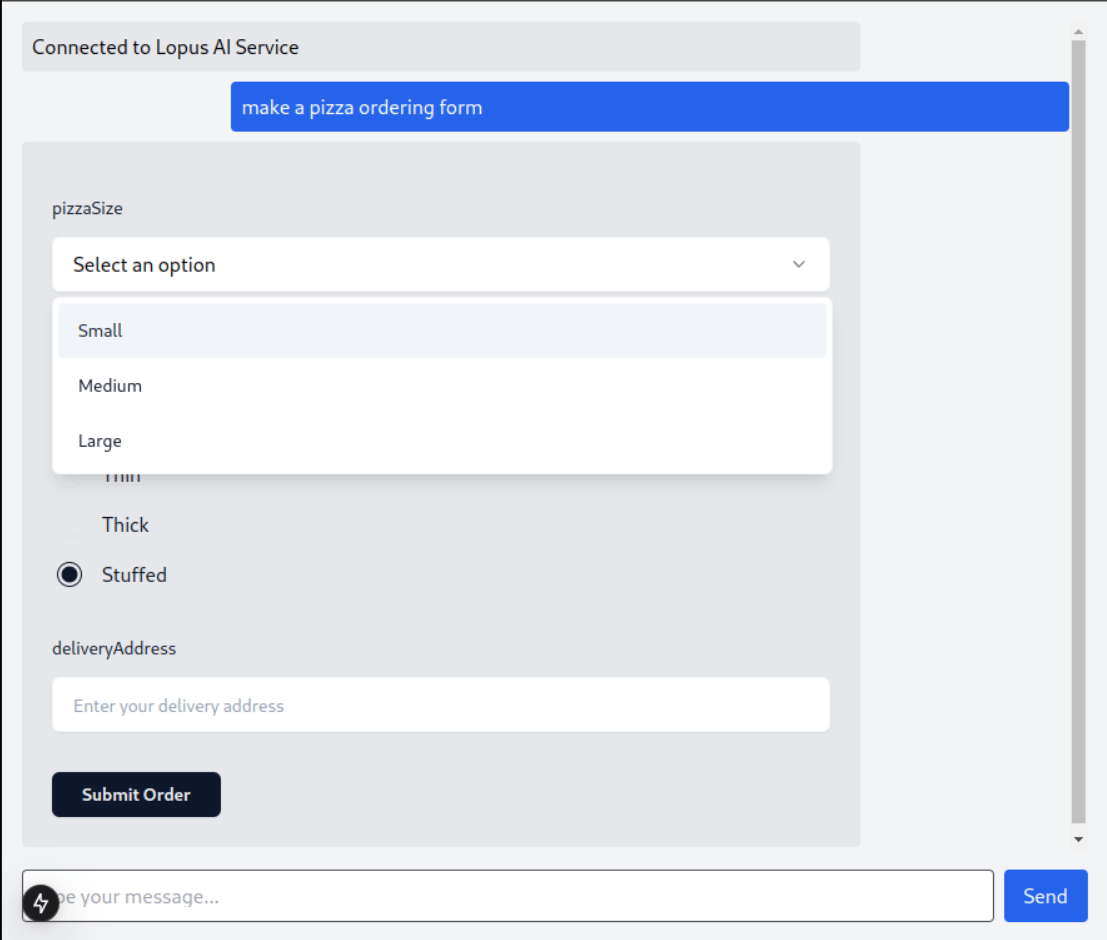
Lopus Chat Component
Next Steps
- Learn how to Render Markdown Messages
- Learn about different Message Types supported by Lopus AI